Amigurumi Unicorn Crochet Free Pattern
Hello dear Amigurumi Followers
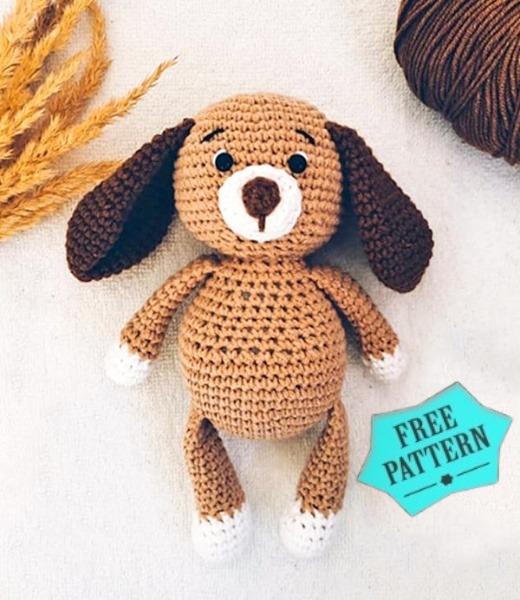
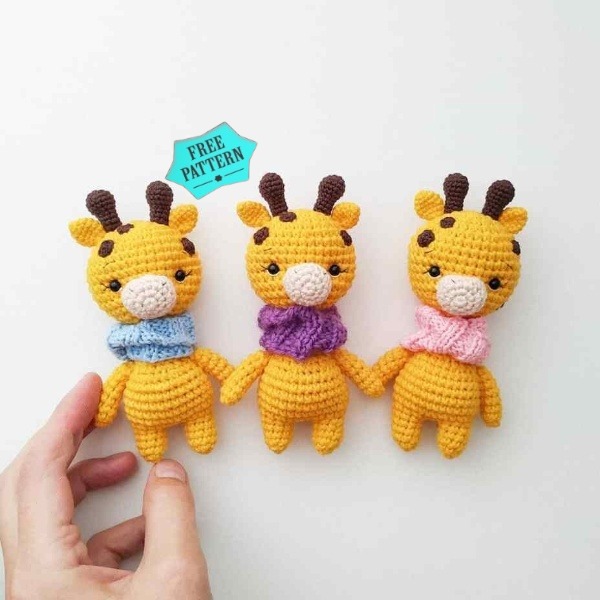
Today we share Easy Amigurumi Unicorn Crochet Free Pattern for you. As you know we share new free amigurumi pattern every day. The main crochets are gazelle, amigurumi bear, pola, crochet panda, penguin, giraffe, llama, pig, amigurumi bunny, clown, lamb, bee, crochet unicorn, amigurumi doll, fox, penguin, dinosaur, crochet elephant, hippo, monkey, crochet cat, crochet dog and more …
Todays daily new amigurumi free crochet pattern is Unicorn.
I want to give you some informations about this amigurumi free pattern;Unicorn.

Materials and tools
1. Yarn.
– For the body I used Himalaya dolphin baby (exactly 1 skein left base color).
– For the horn – YarnArt Jeans, for the mane and tail – Alize softy baby.
2. Filler holofiber or sintepukh.
3. Hook for dolphin baby No. 4, for Yarnart jeans No. 2.
4. Eyes on a 20 mm safety mount.
5. Needle with a large eye for sewing on details, scissors
6. Black thread for muzzle decoration (I use YarnArt jeans)
7. Marker to mark the beginning of the row.
Abbreviations
MR: Magic ring
Sc: Single crochet
Inc: Increase
Dec: Decrease
Slst: Slip stitch
Hdc: Half double crochet
Legs
Starting with a Complementary Color.
1. 2ch, in 2 loop from the hook 8sc (8)
2. (inc)х8 (16)
3. (1 sc, inc) x8 (24)
4. (2 sc, inc) x8 (32)
We change color.
Crochet behind the back wall of the loops.
5. (6 sc, dec) x4 (28)
6-7. 28 sc
8. Dec, 6 sc, dec, 1 sc, dec, 2 sc, dec, 1 sc, dec, 6 sc, dec (22)
9. 5 sc, dec, 1 sc, dec, 2 sc, dec, 1 sc, dec, 5 sc (18)
10. 5 sc, 4 dec, 5 sc (14)
11-17. 14 sc (7 rows)
We crochet 1 more sc to the middle of the leg. Cut the thread and hide inside the part. You can also fold the piece in half and crochet 7 sc, then crochet one less row. I prefer to crochet parts immediately without a connecting row. We fill tightly the lower part, we fill the middle not very tightly, we do not fill the upper part.
Arms
Let’s start with an additional and.veta
1. 2ch, in 2 loop from the hook 6 sc (6)
2. (inc)х6 (12)
3. (1 sc, inc) x6 (18)
We change color.
We crochet the 4th row for the back wall of the loops.
4-6. 18 sc (3 rows)
7. (4 sc, dec) x3 (18)
8-10. 15 sc (3 rows)
11. (3 sc, dec) x3 (12)
12-14. 12 sc (3 rows)
15. (4 sc, dec) x2 (10)
16. 10 sc
Cut the thread and hide inside the part. I crochet folders without a connecting row, but immediately behind both walls. We fill tightly the lower part, we fill the middle not very tightly, we do not fill the upper part.
Body
1. 2ch, in 2 loop from the hook 6 sc (6)
2. (inc)х6 (12)
3. (1 sc, inc) x6 (18)
4. (2 sc, inc) x6 (24)
5. (3 sc, inc)x6 (30)
6. (4 sc, inc) x6 (36)
7. (5 sc, inc) x6 (42)
8. Crocheting legs in this row.
(7 sc together with the leg, 14 sc) x2 (42)
9. 42 sc
10. (5sc, dec)x6 (36)
11-12. 36 sc
13. (4sc, dec)x6 (30)
14-15. 30 sc
16. (3 sc, dec)x6 (24)
17-18. 24 sc
19. We crochet handles in this row. Make sure the handles are on the same level as the legs. 5 sc each with a handle, 7 sc between handles (24)
20. (2 sc, dec)x6 (18)
You need to leave the thread for sewing on the head. We fill the body. Pay attention to the neck area. If you stuff it not well enough, then the head will hang out.

Head
1. 2ch, in 2 loop from the hook 8sc (8)
2. (inc)х8 (16)
3. 16 sc
4. (1 sc, inc) x8 (24)
5-6. 24 sc
7. 9 sc, 6 inc, 9 sc (30)
8. 9 sc, (1 sc, inc)x6, 9 sc (36)
9-14. 36 sc (6 rows)
We insert the eyes in the 7th row. The first eye before the first increase, the second after the last.
Gradually we begin to fill the head, evenly distributing the filler. We stuff the muzzle well.
15. (4sc, dec)x6 (30)
16. (3sc, dec)x6 (24)
17. (2sc, dec)x6 (18)
18. (1sc, dec)x6 (12)
19. 6 dec
We tighten the hole and hide the thread.
The distance between the eyebrows and eyes is 2 rows. Eyebrow length 4 loops. Embroidering eyelashes, stepped back from the eye by 2 loops.
Horn (Option 1)
1. 2ch, in 2 loop from the hook 6sc (6)
2. (1 sc, inc) x3 (9)
Starting from the 3rd row and to the end, we crochet for the back walls of the loops.
3. 9 sc
4. (2 sc, inc) x3 (12)
5-6. 12 sc
7. (3sc, inc) x3 (15)
8-9. 15 sc
10. (4sc, inc)x3 (18)
11-12. 18 sc
Next, you need to tie from the 3rd to the 12th row all the front walls of the loops with connecting posts. I moved without tearing the thread from bottom to top.
Horn (Option 2)
1. 2ch, in 2 loop from the hook 4sc (4)
2. (1 sc, inc) x2 (6)
3. (1 sc, inc) x3 (9)
4-7. 9 sc (4 rows)
Leave the thread for sewing.
We sew the horn in the 10-11th row in the center.

Ears
(The ears consist of two parts and two colors)
1. 7 ch, from 2 loops from the hook 5 sc, 6 sc in 1 loop, turn, 5 sc (16)
2. 1 sc, inc, 6 sc. We do not crochet the second row. We cut the thread.
1. 7 ch, from 2 loops from the hook 5 sc, 6 sc in 1 loop, turn, 5 sc (16)
2. 1 sc, inc, 5 sc, inc, 2 sc, inc, 5 sc, slst (19)
We cut the thread.
We connect the two parts with the wrong side to each other and tie with the thread that was used to knit the outer part.
I hid all the trimmings inside the ear.
Leave the thread for sewing and cut.
Sew together the lower part with a needle.
We sew the ears from the 12th to the 14th row at a distance of 9 loops.